
Sure, that is each an enormous challenge AND one more make impressed by “Interview with the Vampire“! Sufficiently big that you just’re going to get not less than one In Progress put up, along with the ultimate reveal. I’m actually enthusiastic about this one, although, and in a means that I’ve not been fired up for a very long time…
The Inspiration
So what’s the “Wolfkiller cloak”? Within the second novel of Anne Rice’s Vampire Chronicles collection, the (nonetheless human) Lestat heads out into the woods to kill a pack of wolves that have been terrorising his village in 18th c rural France. After barely escaping along with his life, the villagers thank him by presenting him with a cloak (and boots!) made with the pelts of the slain wolves. This scene is completely iconic, and it’s his carrying the cloak later in Paris that partially attracts the discover of the person who assaults him and makes him a vampire.
Now, as a result of, within the present, they’re not adapting The Vampire Lestat book till season 3, nobody was anticipating to see something of Lestat’s 18th c previous, not to mention THE cloak. However we bought a shock style in episode 3 of season 2, as a part of a 15 minute flashback sequence (completely in French, too!)
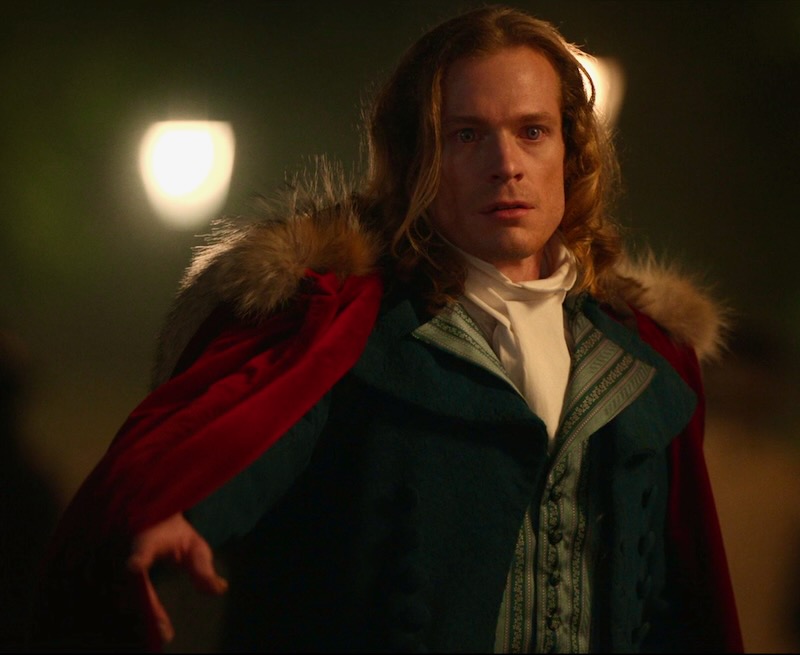
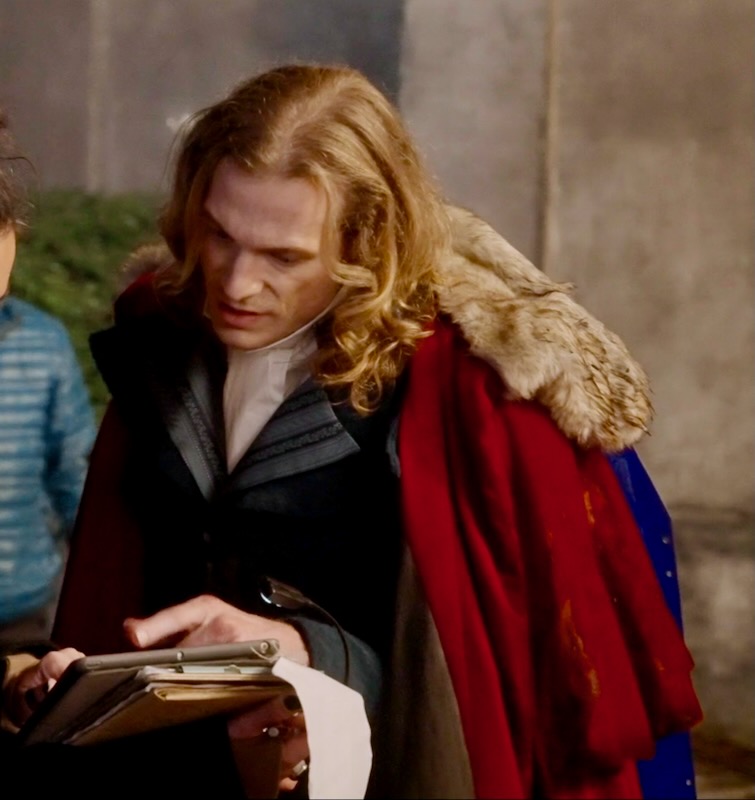
It appears to be like unimaginable within the present, however then we additionally bought to see extra of it in higher lighting through the brief, behind the scenes “Episode Insider” for the episode.
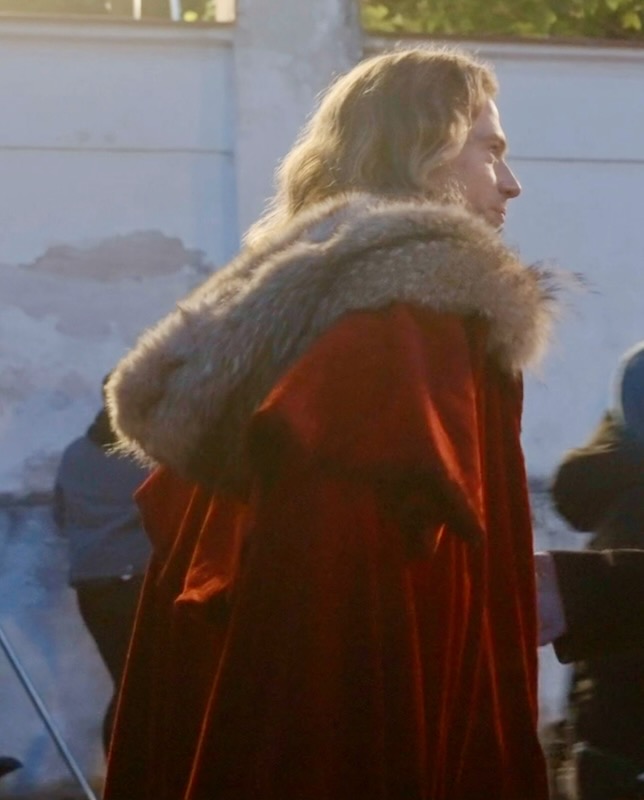
Primarily, this can be a calf-length, blood-red velvet cape with an extra, elbow-length capelet on prime, and a fur-lined hood.

(This one’s really the stunt man however you possibly can see the size actually clearly right here!)
And from right here the concept wormed its means into my head that I ought to spend the hiatus between seasons making my model of the Wolfkiller cloak…
The Plan
However having made capes previously (significantly my Burda cape) I realised that the explanation I don’t put on the capes I’ve beforehand made very a lot is {that a}) I can’t put on a bag on my shoulder and b) restricted mobility T-Rex arms once you use the hand openings (or, conversely, you possibly can put arms by means of the entrance opening for higher mobility however then freeze to demise).
So I used to be like, effectively, Lestat’s has the additional capelet layer on prime that goes right down to elbow stage – what if I had sleeves connected to the underside layer which I might tuck inside after I wished authenticity (since they’d be hidden by the highest layer anyway)? And I might additionally sew hidden hooks into the entrance opening so I can shut it and never freeze to demise, but in addition enable it to swing open and free after I need the drama… Principally I’m attempting to make one thing that’s considerably genuine to the look of the unique, but in addition sensible to put on as an each day winter coat!
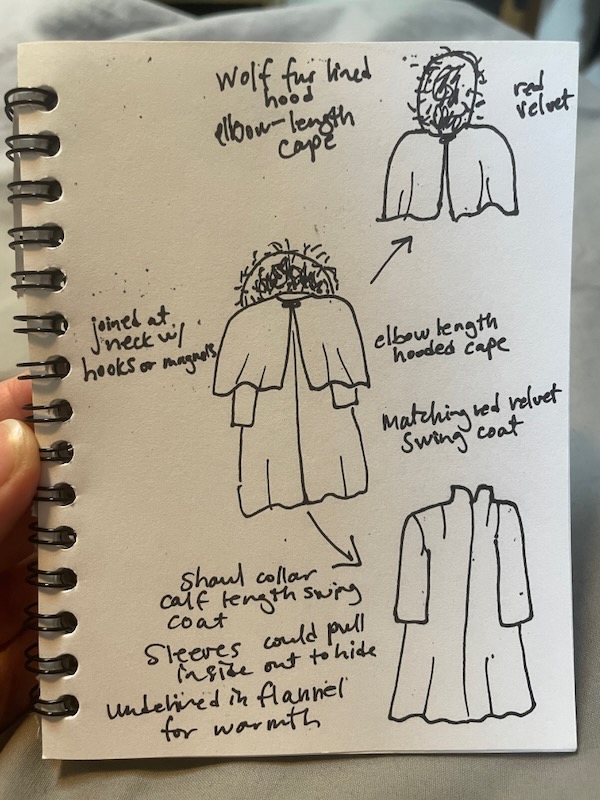
So then my stitching mind is like – really what you’re stitching is a swing coat + little capelet on prime with fur-lined hood! This was a Eureka! second for me.
So then I went googling for stitching sample inspiration and it seems I already personal the Charm Patterns Swing Coat again from after I was a Patreon subscriber for some time and downloaded a bunch of earlier patterns.
BUT! I had the concept (whereas attempting and failing to go to sleep – thanks, mind!) that somewhat than becoming a member of the capelet and the swing coat on the neck seam (as a result of this is able to be cumbersome AF), I ought to have the hood on the capelet after which connect that to the swing cape with hidden hooks or magnets so it’s ✨removeable✨!
So I might put on the swing coat or hooded mini cape on their very own, or collectively!
Making the muslin
My first step was to stitch a muslin of the coat, capelet, and hood to ensure they match correctly and gave the impression I used to be after. I don’t usually sew muslins, however with a challenge this costly by way of effort, time, and cloth value, I knew it will be a should.
My first hurdle was in printing the Swing Coat sample – a whopping 6 A0 sheets to print!?! On nearer inspection, this was wholly pointless as the way in which it was laid out meant you needed to print the Entrance items for BOTH cup sizes! I don’t find out about you, however the final time I checked, I solely had one set of boobs so exactly ZERO sewists would wish to print each Fronts. Grrr. It additionally did a very unecessary addition of have separate lining and exterior items – when the items are this largre and there’s 80% overlap between the liner and exterior, it’s loopy to print each. So I eliminated the bust cup Entrance piece I didn’t want and overlapped the outside and lining items and solely needed to print 3 A0s as a substitute. Thank god I’m proficient at Adobe Illustrator or I might’ve paid twice as a lot!
Fortunately the sample itself fitted effectively as-is, dimension 16, besides the sleeve. There was just a little an excessive amount of sleeve cap ease within the again, and I wanted a full bicep adjustment. I didn’t desire a broad sleeve for heat causes (drafts?? Brr) so I narrowed the sleeve to 11in on the hem initially, however this was just a little too shut becoming to get sweaters below in future so I widened it to 15cm after I did the bicep adjustment (and added 3cm to the bicep width).
For the removeable capelet I reused my Claudia NYE capelet sample however modified the hood in order that it’s much less peaked, and wider on the sides to point out off the fake fur higher. I needed to do three totally different hood muslins to get the form I wished. For the hood to have drapey bits on the facet of face, it wanted to be very tall however not deep.
I additionally wished the fur to wrap round to the skin to be much more seen, so I took 10cm (4 inches) from the hood opening and added that to a brand new hood lining piece, with a smaller exterior hood piece. This manner the fur will wrap across the opening edge with none additional seams. I realized from stitching my faux fur coat 15 years ago(!!) that fewer seams are undoubtedly higher once you’re working with fake fur!
For the capelet sample I simply shortened my earlier sample to be at elbow size however realised that to appear like a fair size throughout it really must be longer on the shoulder/facet seams and shorter on the Entrance and Again, as a result of… shoulders protrude and means there’s additional distance for the material to journey. Duh!
I didn’t really take images of the muslin, however tbh it required numerous inventive considering to see my imaginative and prescient, so that you’ll simply should take my phrase for it!
The Materials
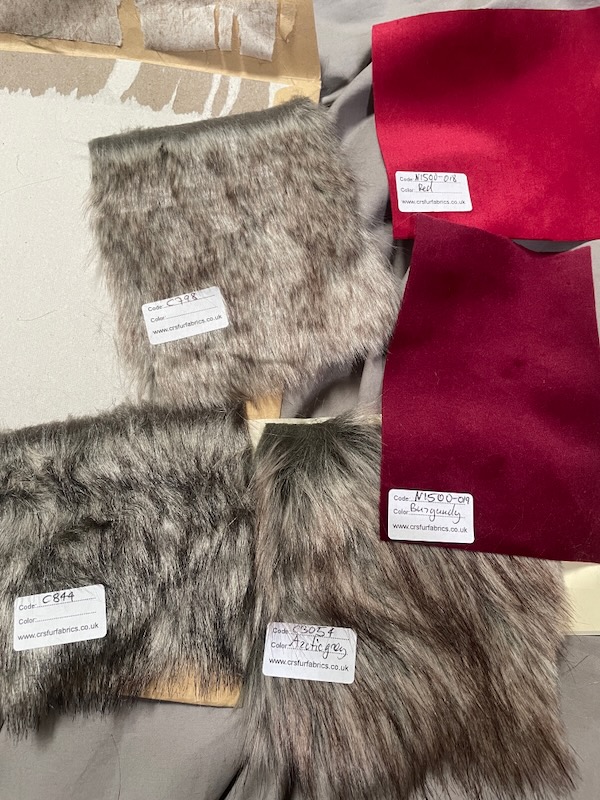
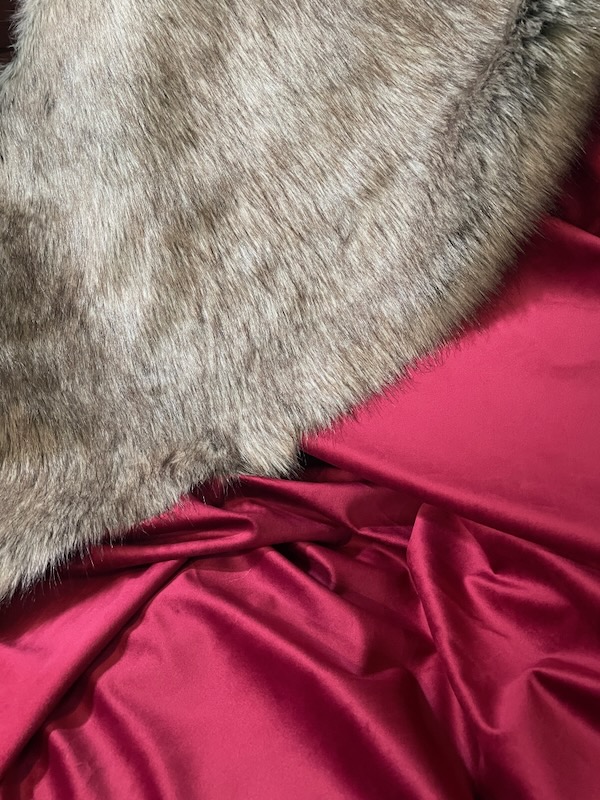
I did a LOT of attempting to find each the right velvet and the right fake wolf fur. The velvet not solely needed to be the suitable color (not too shiny crimson, however not too darkish burgundy both) but in addition a brief sufficient pile that I might nonetheless iron it simply. I undoubtedly realized my lesson from stitching James’s silk velvet pirate coat nearly 20 years ago(!!) on that entrance!
The fake wolf fur additionally needed to be the suitable color – a mixture of white, gray, and taupe, but in addition the suitable size, and likewise delicate to the contact. A number of the fake furs felt tremendous artificial to the contact, and I knew they’d put on out and tangle actually shortly.
In the end I discovered my two profitable materials at a new-to-me CRS Furs – 5m of burgundy velvet at £12.99/m and a half metre of arctic grey wolf faux fur for £30.
At this level I’d like to increase my warmest due to Carol Cutshall, costume designer on the present, for under lining the hood with fur as a substitute of all the cape like within the books, as a result of I might’ve wanted a mortage to purchase that a lot fur!!
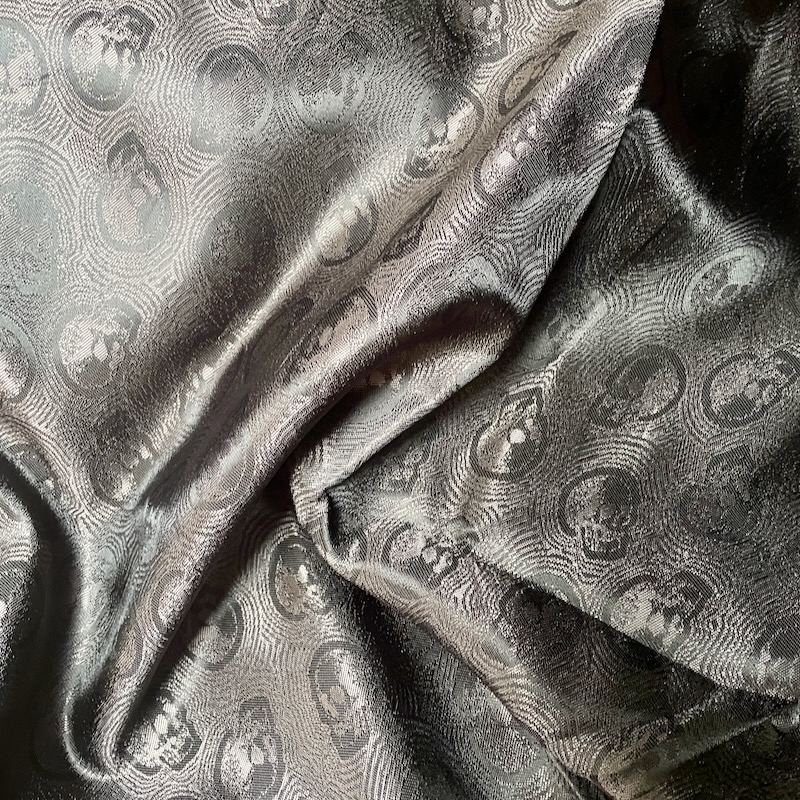
After looking out so lengthy for the opposite two materials, my lining cloth discovered me in some way! Once I noticed this black/charcoal skull jacquard at Temper Materials on-line, I completely knew I needed to have it for this cloak! Transport something from exterior the UK means completely punishing customs and import prices although (usually double what you already paid!) so I used to be tremendous glad to discover a pal who didn’t thoughts hauling 4yd of it in her suitcase from America!
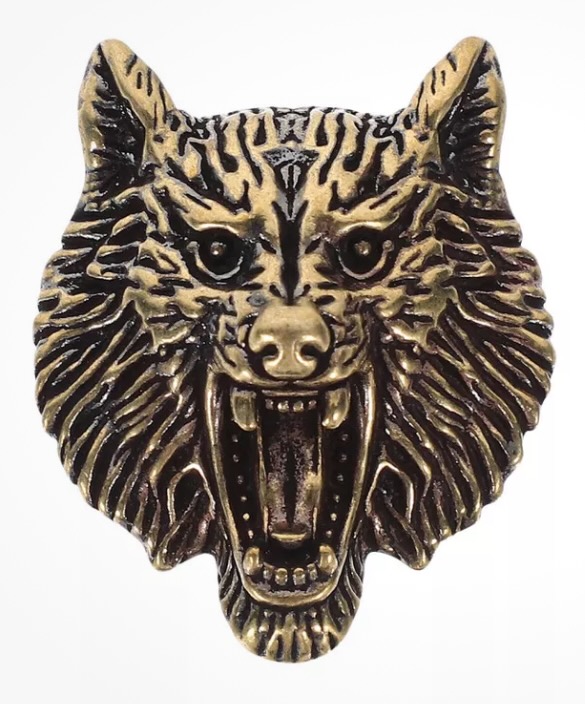
The Swing Coat has one huge button closure on the neck, and for this I went in search of an appropriate wolf-themed button and located the perfect brass one on eBay (the remainder of the closures shall be hidden).
The velvet was moderately priced however I had to purchase 5m so the entire for simply the 2 exterior materials was £80, ouch. 😭 And that’s not counting the ~$50 I spent on the liner already, the £20 on muslin/calico to check it first, or the ~£30 in flannel underlining I’ll want too… 😩💸 Why do I’ve Lestat tastes with a Youngsters of Devil earnings??
The Slicing and Prep
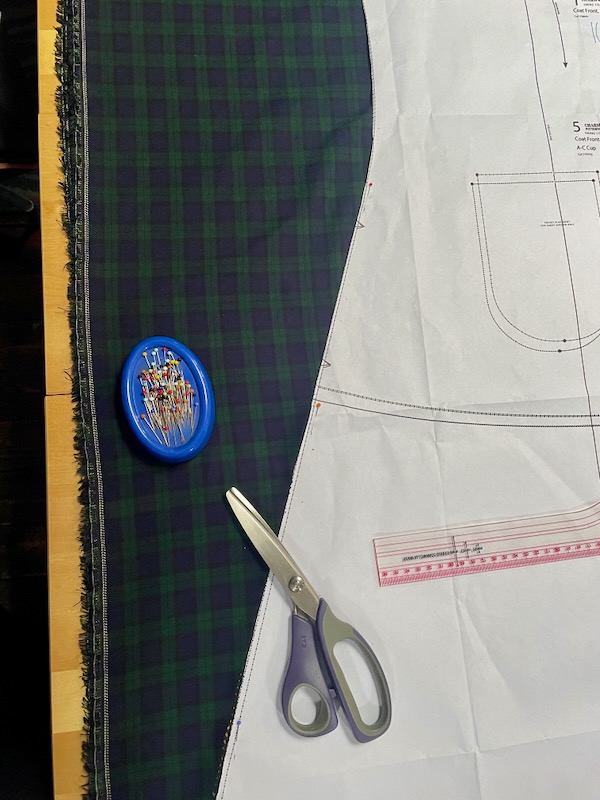
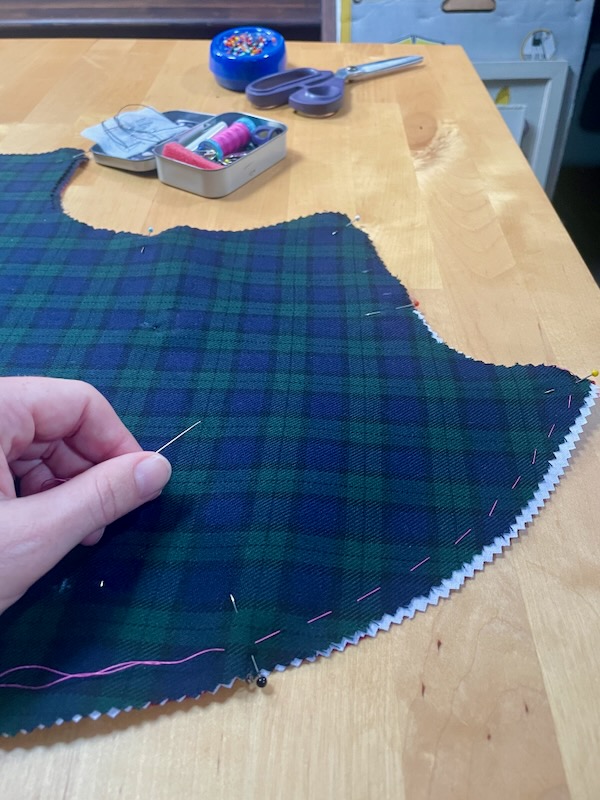
I assumed I might be ending this in-progress put up right here however I’ve really been on a roll with the chopping and prep so I would as effectively let you know about that, too. The Entrance and Again items of the Swing Coat have been so large that I wanted to get James to haul our folding desk to the cosy lounge so I might unfold each leaves. Usually I’ve this desk in our hall, and unfold one leaf to chop my cloth, however there was no means it was going to suit, and I wished it to lie flat to minimise distortion.
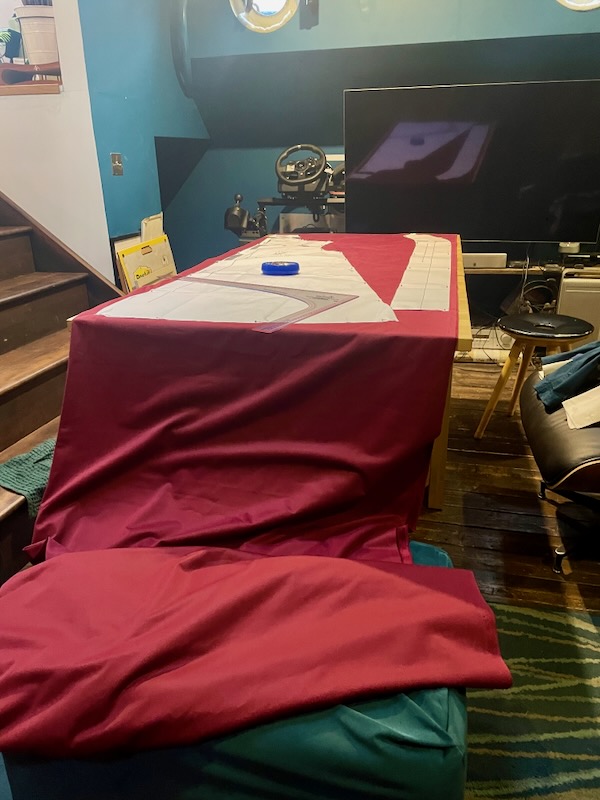
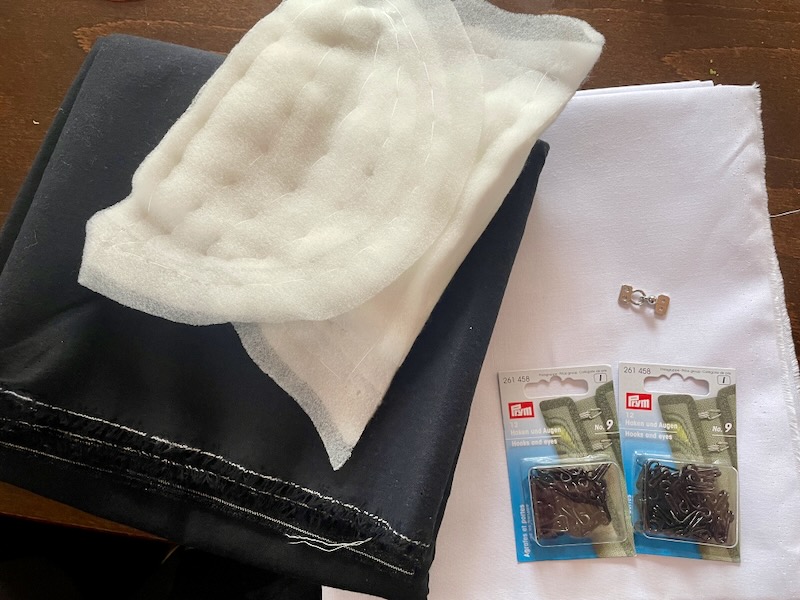
As soon as the velvet exterior items and facings have been all minimize, I then moved on to the interfacing. Since I wanted a lot, I purchased black midweight and likewise stiffer “collar” interfacing from MacCulloch and Wallis. The midweight was fused to all the Fronts and facings, plus hems of the Fronts, Backs, and Sleeves, sleeve cap space, higher again shoulders, and the neck space of the capelet. The stiffer interfacing was solely used round the back and front collar space to make that arise properly. Whereas I used to be ordering, I additionally purchased the shoulder pads, hooks for the capelet attachment and entrance coat closure, and hook & eye for the capelet entrance.
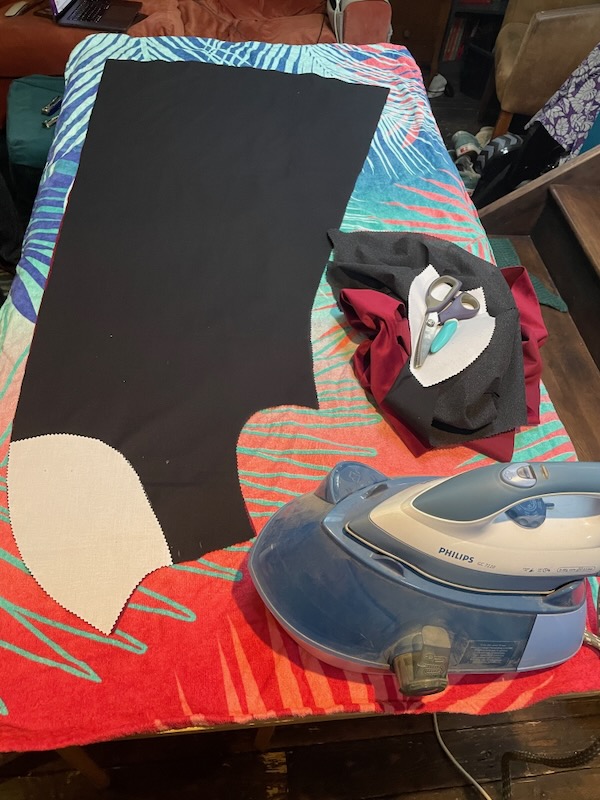
Fusing the interfacing took a complete day even after I realised that I might simply decrease the ironing board to fuse sitting down (eureka!). The Entrance piece wouldn’t match on my ironing board, nevertheless, so I needed to lay two seashore towels on the folding desk to fuse these items flat.
Subsequent up was chopping the flannel underlining for the principle coat items (Entrance, Again, and Sleeves) after which hand baste their edges collectively, which took one other two days!
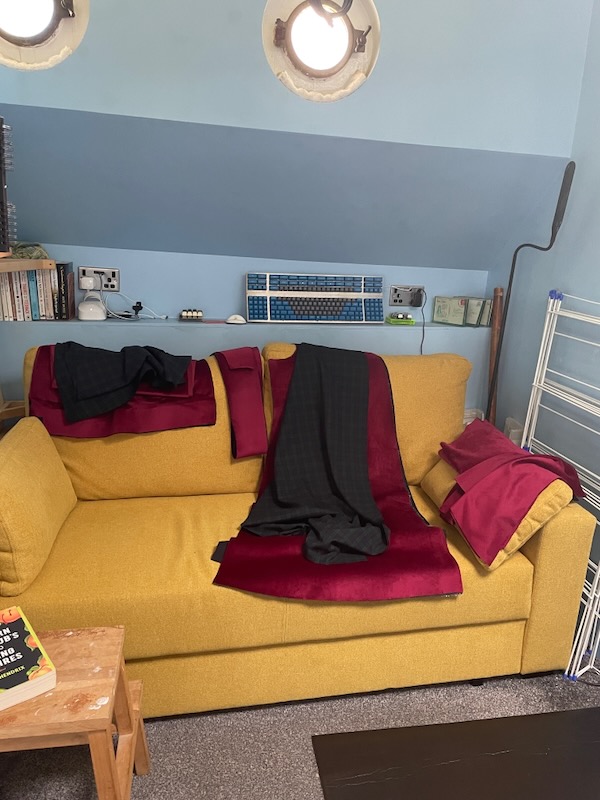
Then I might lastly minimize the liner items! At this level the items have been so huge that I needed to retailer them within the visitor bed room in order that they wouldn’t get crushed or creased in my little stitching cave.
And now I’m lastly prepared to begin stitching! It’s superb what you may get completed, even with fatigue-based limitations, once you’re motivated for a challenge!


